TrueNAS Scale
There are times that we find ourselves needing a place to store our ever-expanding collection of files, and the simple 1TB hard drive on our workstation just won’t cut it anymore. In such cases, we should probably set up a NAS. A NAS, or “Network Attached Storage”, is a device that is connected to a network and acts as a dedicated file storage service. Users on the network can connect to it via a ‘file share’ and be able to access, share, or copy their files with other users. NAS’s do this job by pooling a large amount of hard drives together in what is called a ‘redundant disk array’. These disk array (or RAID) configurations allow a network to centralize hundreds of terabytes of storage while also providing redundancy in case a disk fails. Without redundancy, all of the data could be lost if a single hard drive stops working. This is because the data is “striped” across each disk in the pool.
There are multiple ways you can set up a NAS in your organization’s network or your own homelab. You could purchase a pre-built, ready-to-go device like a Synology NAS. Many hypervisors these days can function as a NAS at some level. For example, Proxmox is an open-source and Linux-based hypervisor that is able to pool together multiple disks into a RAID configuration using a file system technology called ‘ZFS’. The inverse is also true. Dedicated NAS solutions can also have the ability to host virtual machines and containers. A great example is TrueNAS. TrueNAS is a family of open-source NAS solutions developed by iXsystems. Its variations include TrueNAS Core (Unix-based), TrueNAS Community Edition (Linux-based), and TrueNAS Enterprise (business version of the Community Edition and not free).
I initially decided to set up a NAS because I needed a larger file storage for my media server running Jellyfin and Audiobookshelf. Jellyfin is an application that manages and streams my movies and TV shows for me, and Audiobookshelf streams my audiobooks. As my media collection grew, I quickly realized the SSD on my media server was going to run out of space. Therefore, in order to add storage to my homelab, I decided to set up TrueNAS Community Edition (formally known as TrueNAS Scale).
Hardware
To install TrueNAS on bare metal, you need a desktop or server that can carry at least three hard drives. One of the disks is for the boot-drive so it only must be at least 32 GB in size.
Disclaimer: Try not to use a large capacity drive for the boot because you will not be able to use the remaining space for anything other than booting TrueNAS.
Pretty much any not-so-old i5, i7 or Xeon with 5-6 cores will suffice for processing power. RAM will be more important than the CPU anyways. It is the general consensus that you should ideally have 1 gigabyte of RAM for every terabyte of storage in your NAS.
For my NAS build, I used an old HP ProDesk 600 that rocks a humble 4th Gen i5 4-core CPU and 16 GB of DDR3 memory. As for my storage, I managed to stuff 2×8 GB HDDs (plus an SSD for the boot drive) inside of it. So far, I think this was enough to do the job, but I can always upgrade if I need to.
Installation
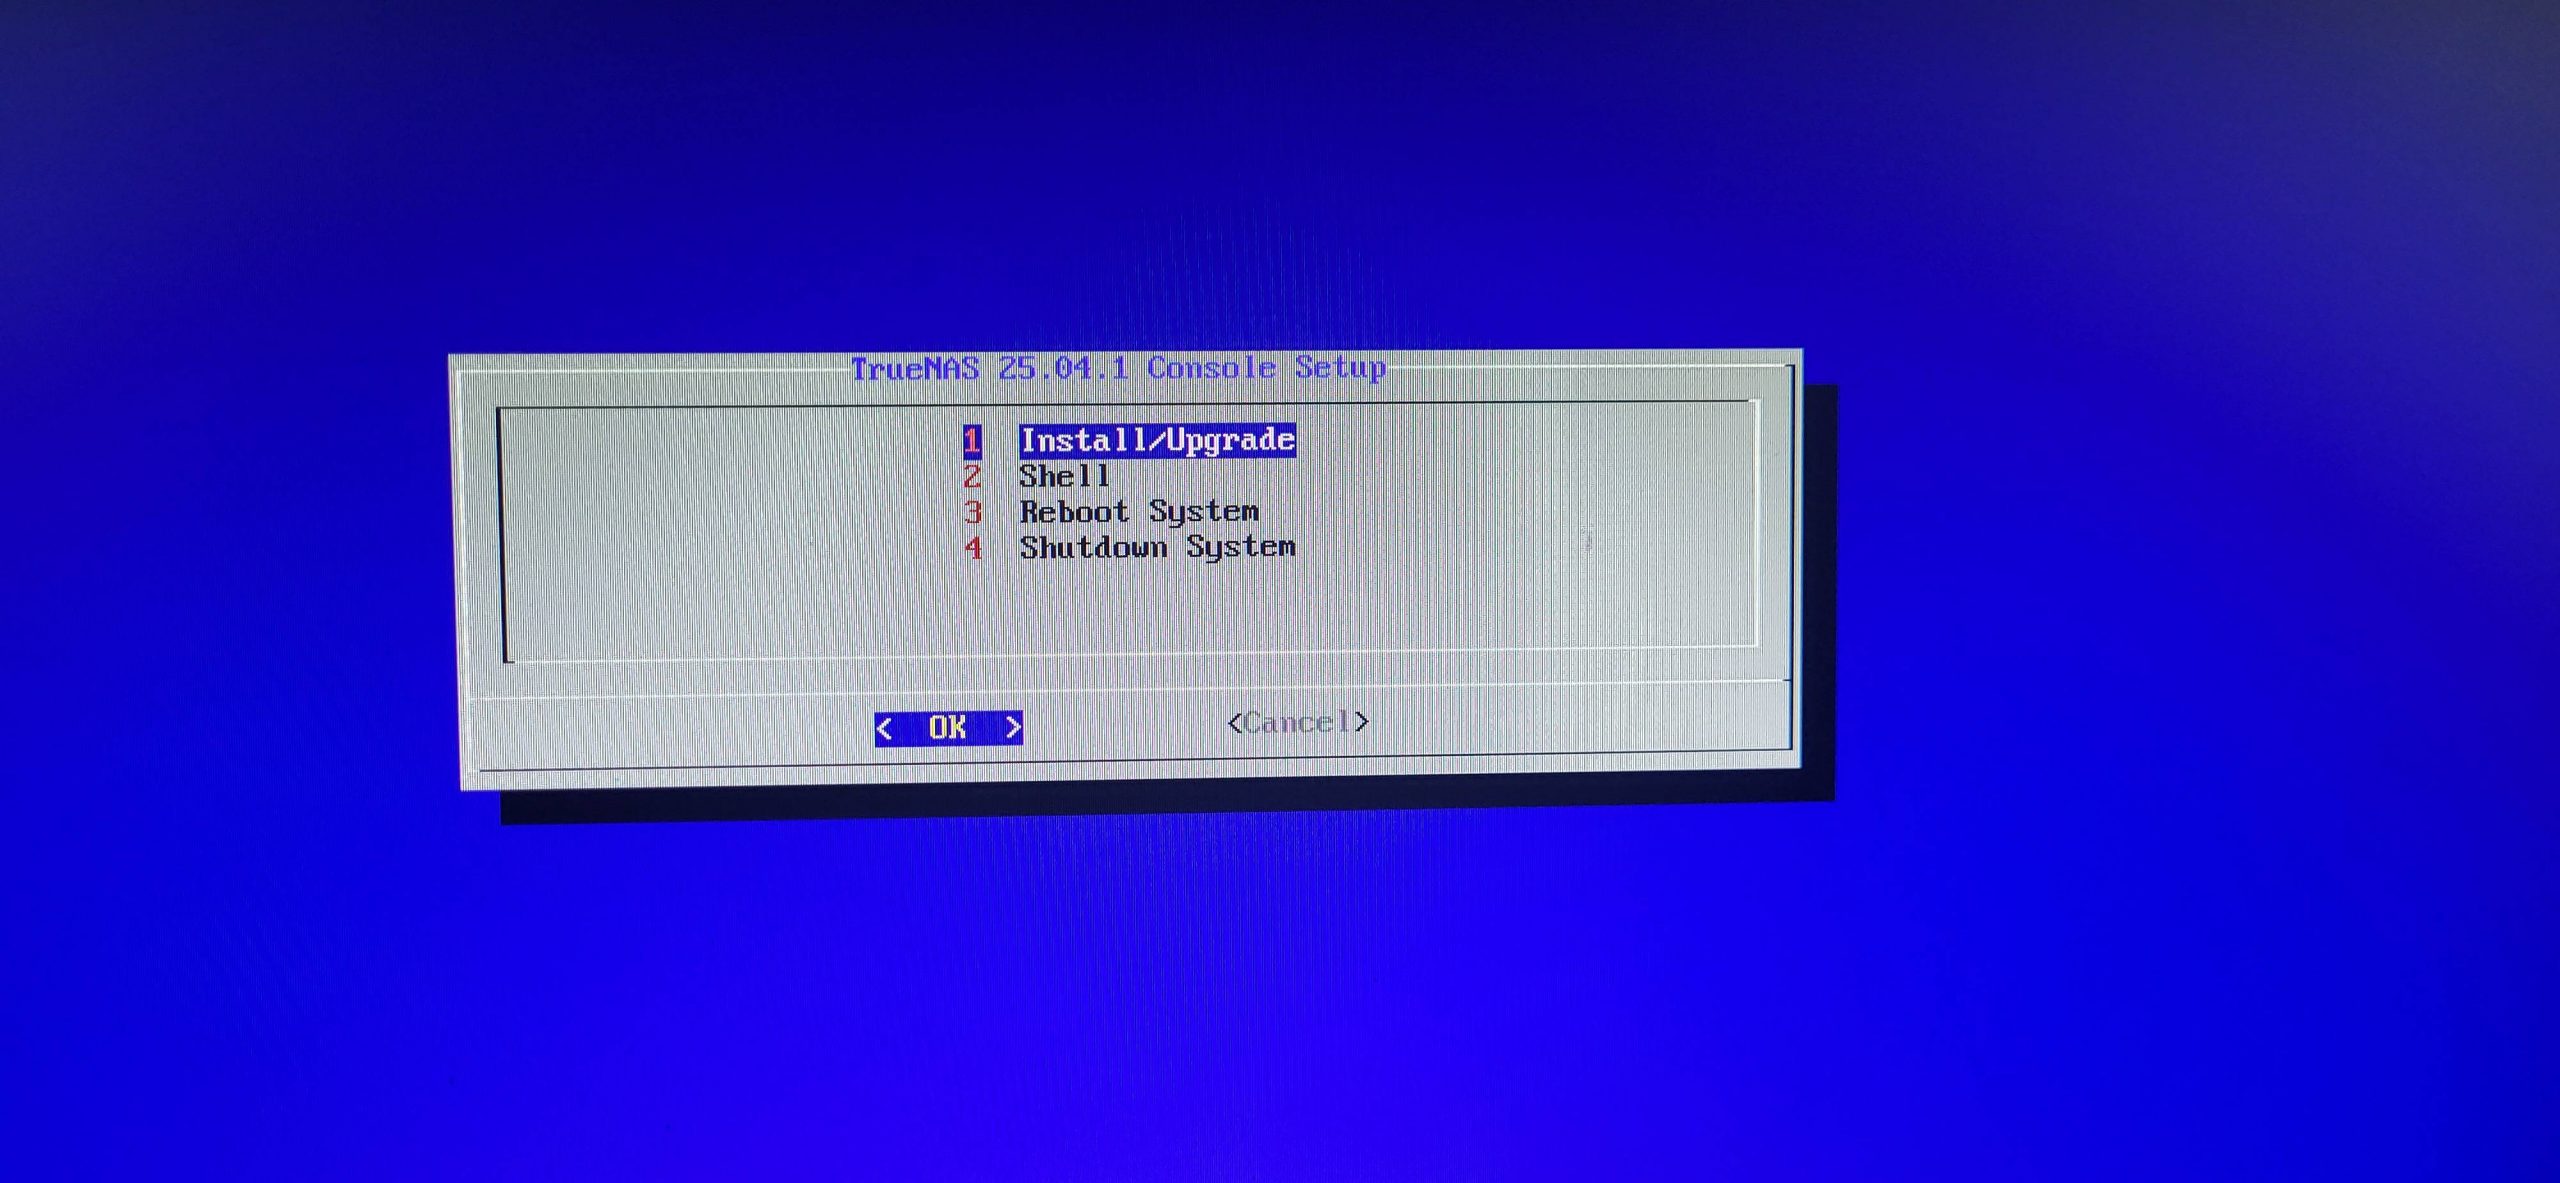
Installation is fairly simple after burning the ISO to a usb stick and booting into it:
- Enter the Installation Wizard.
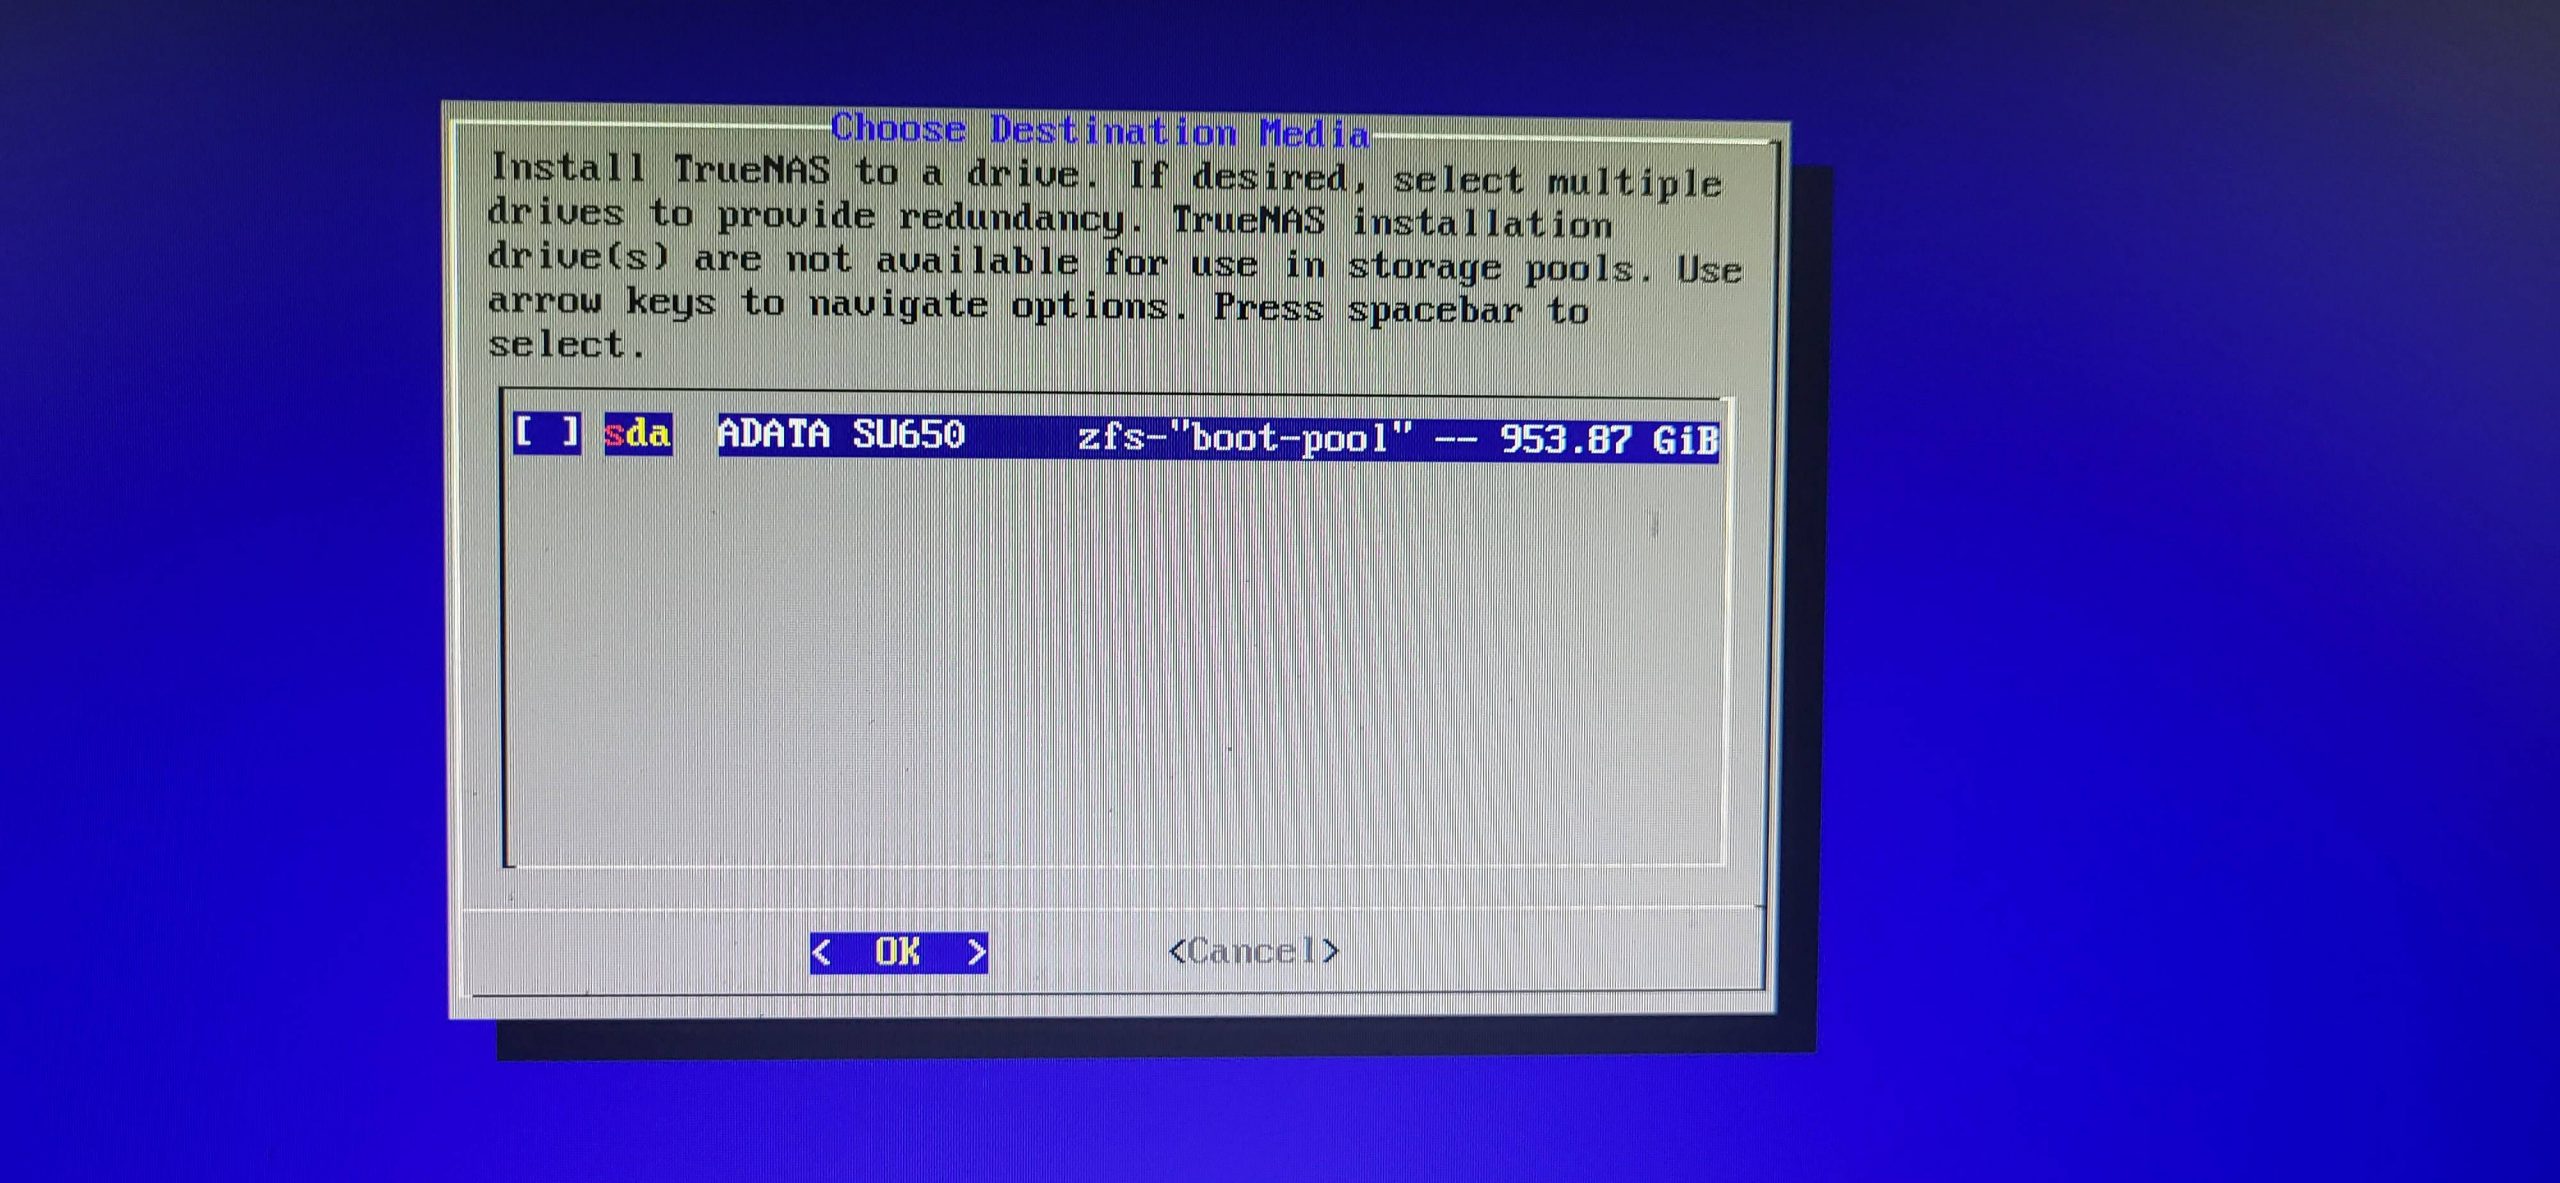
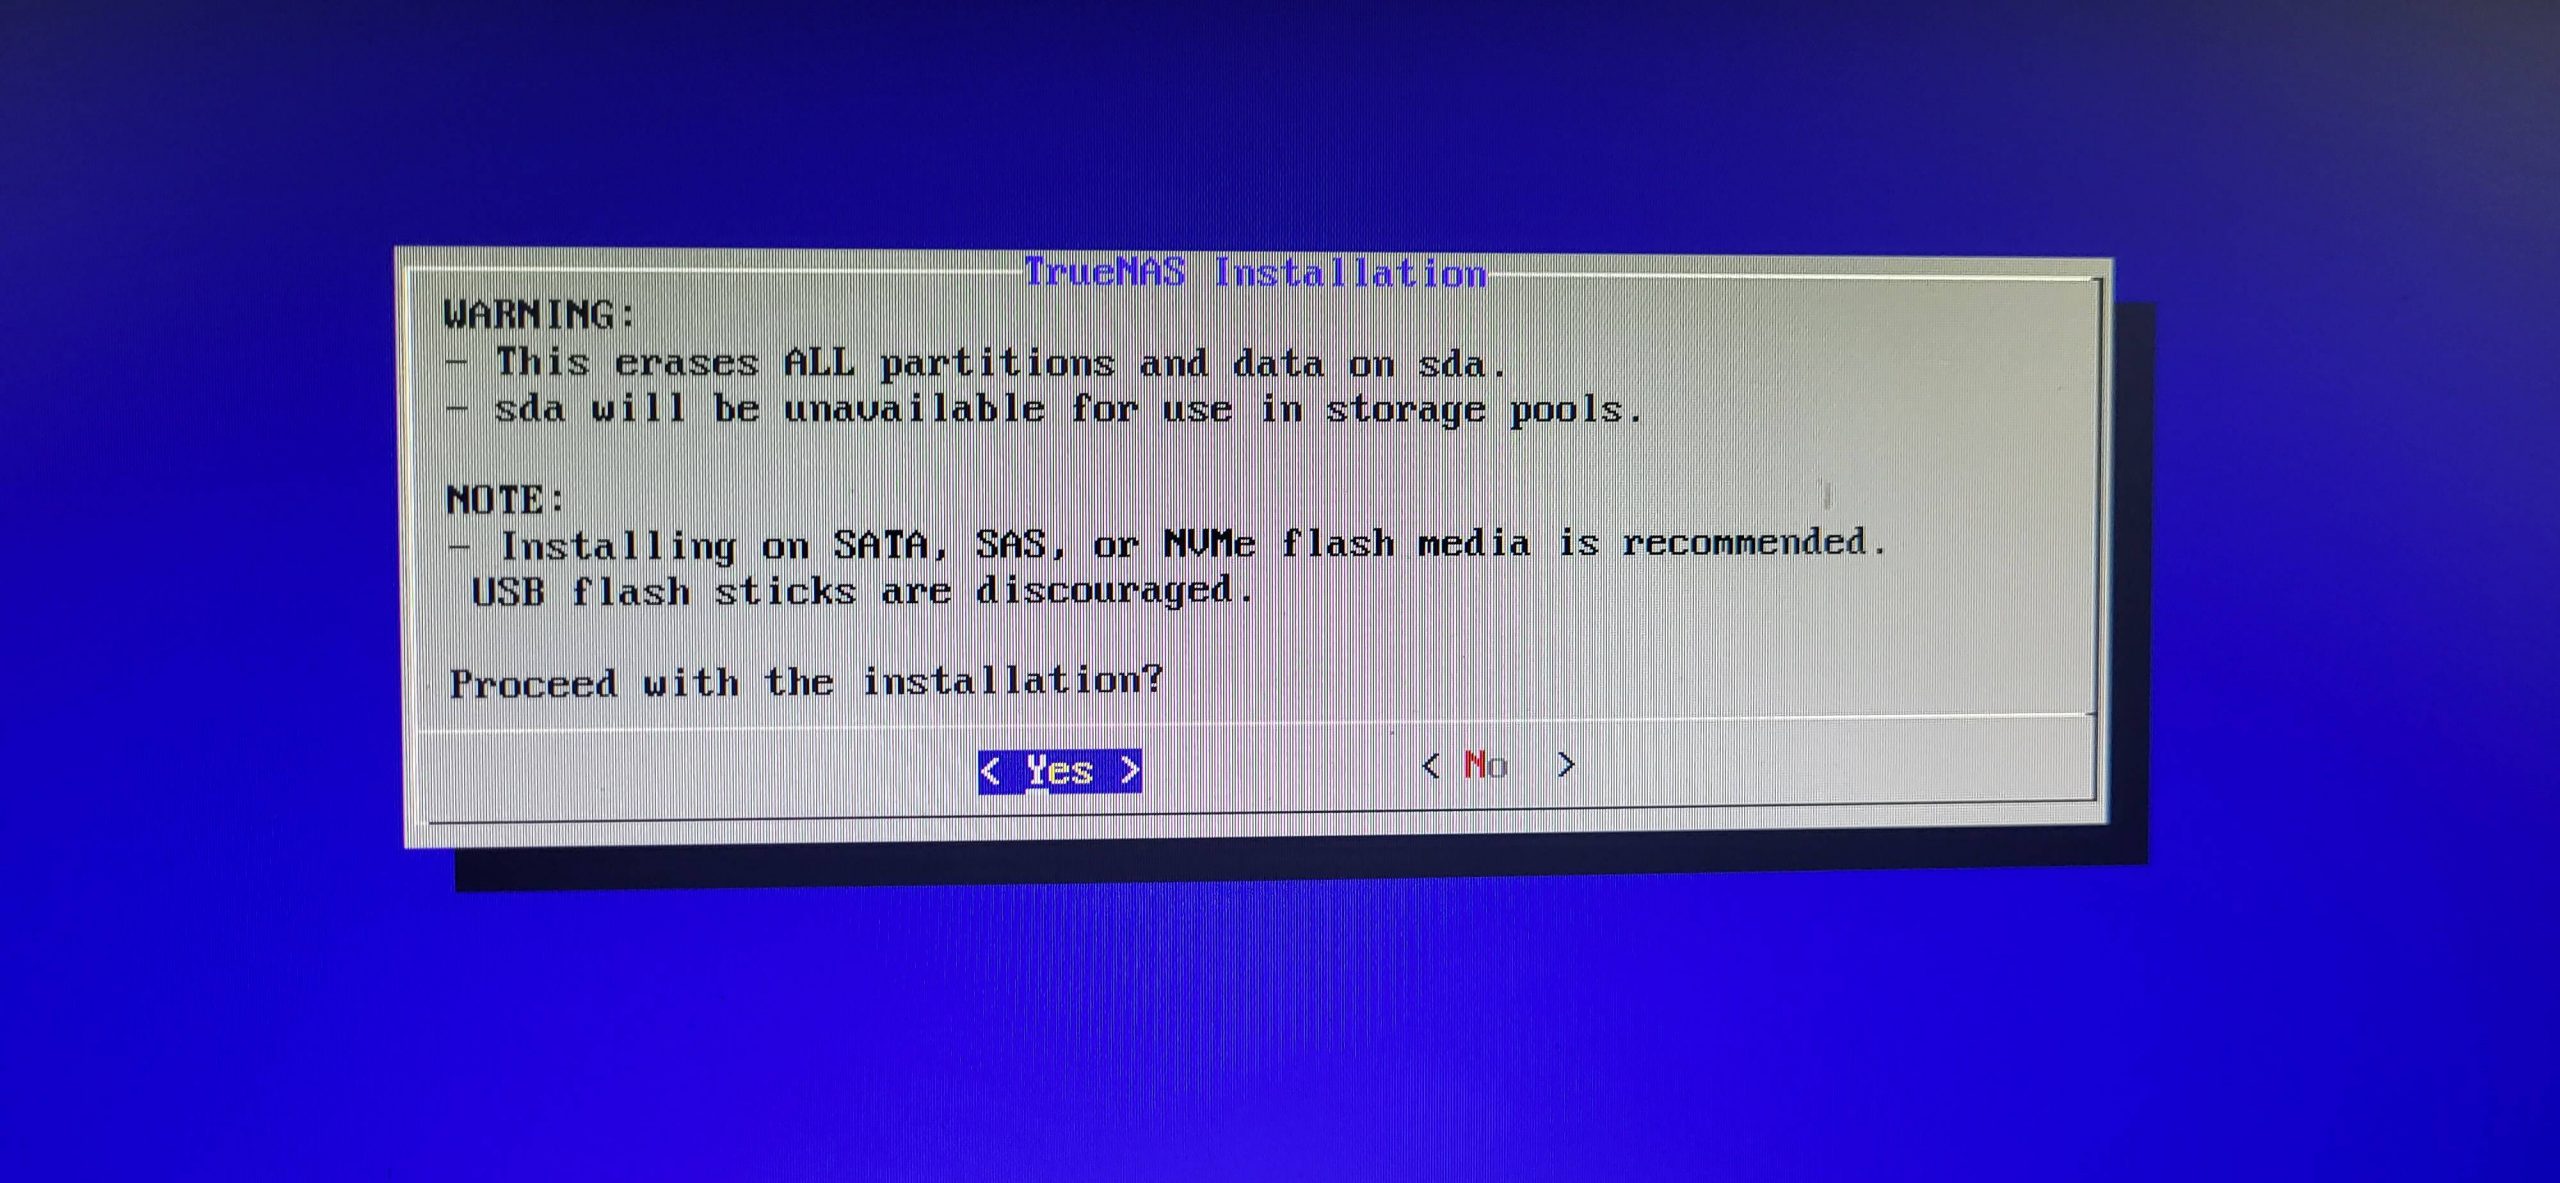
- Select the drive you want TrueNAS to boot from, and confirm.
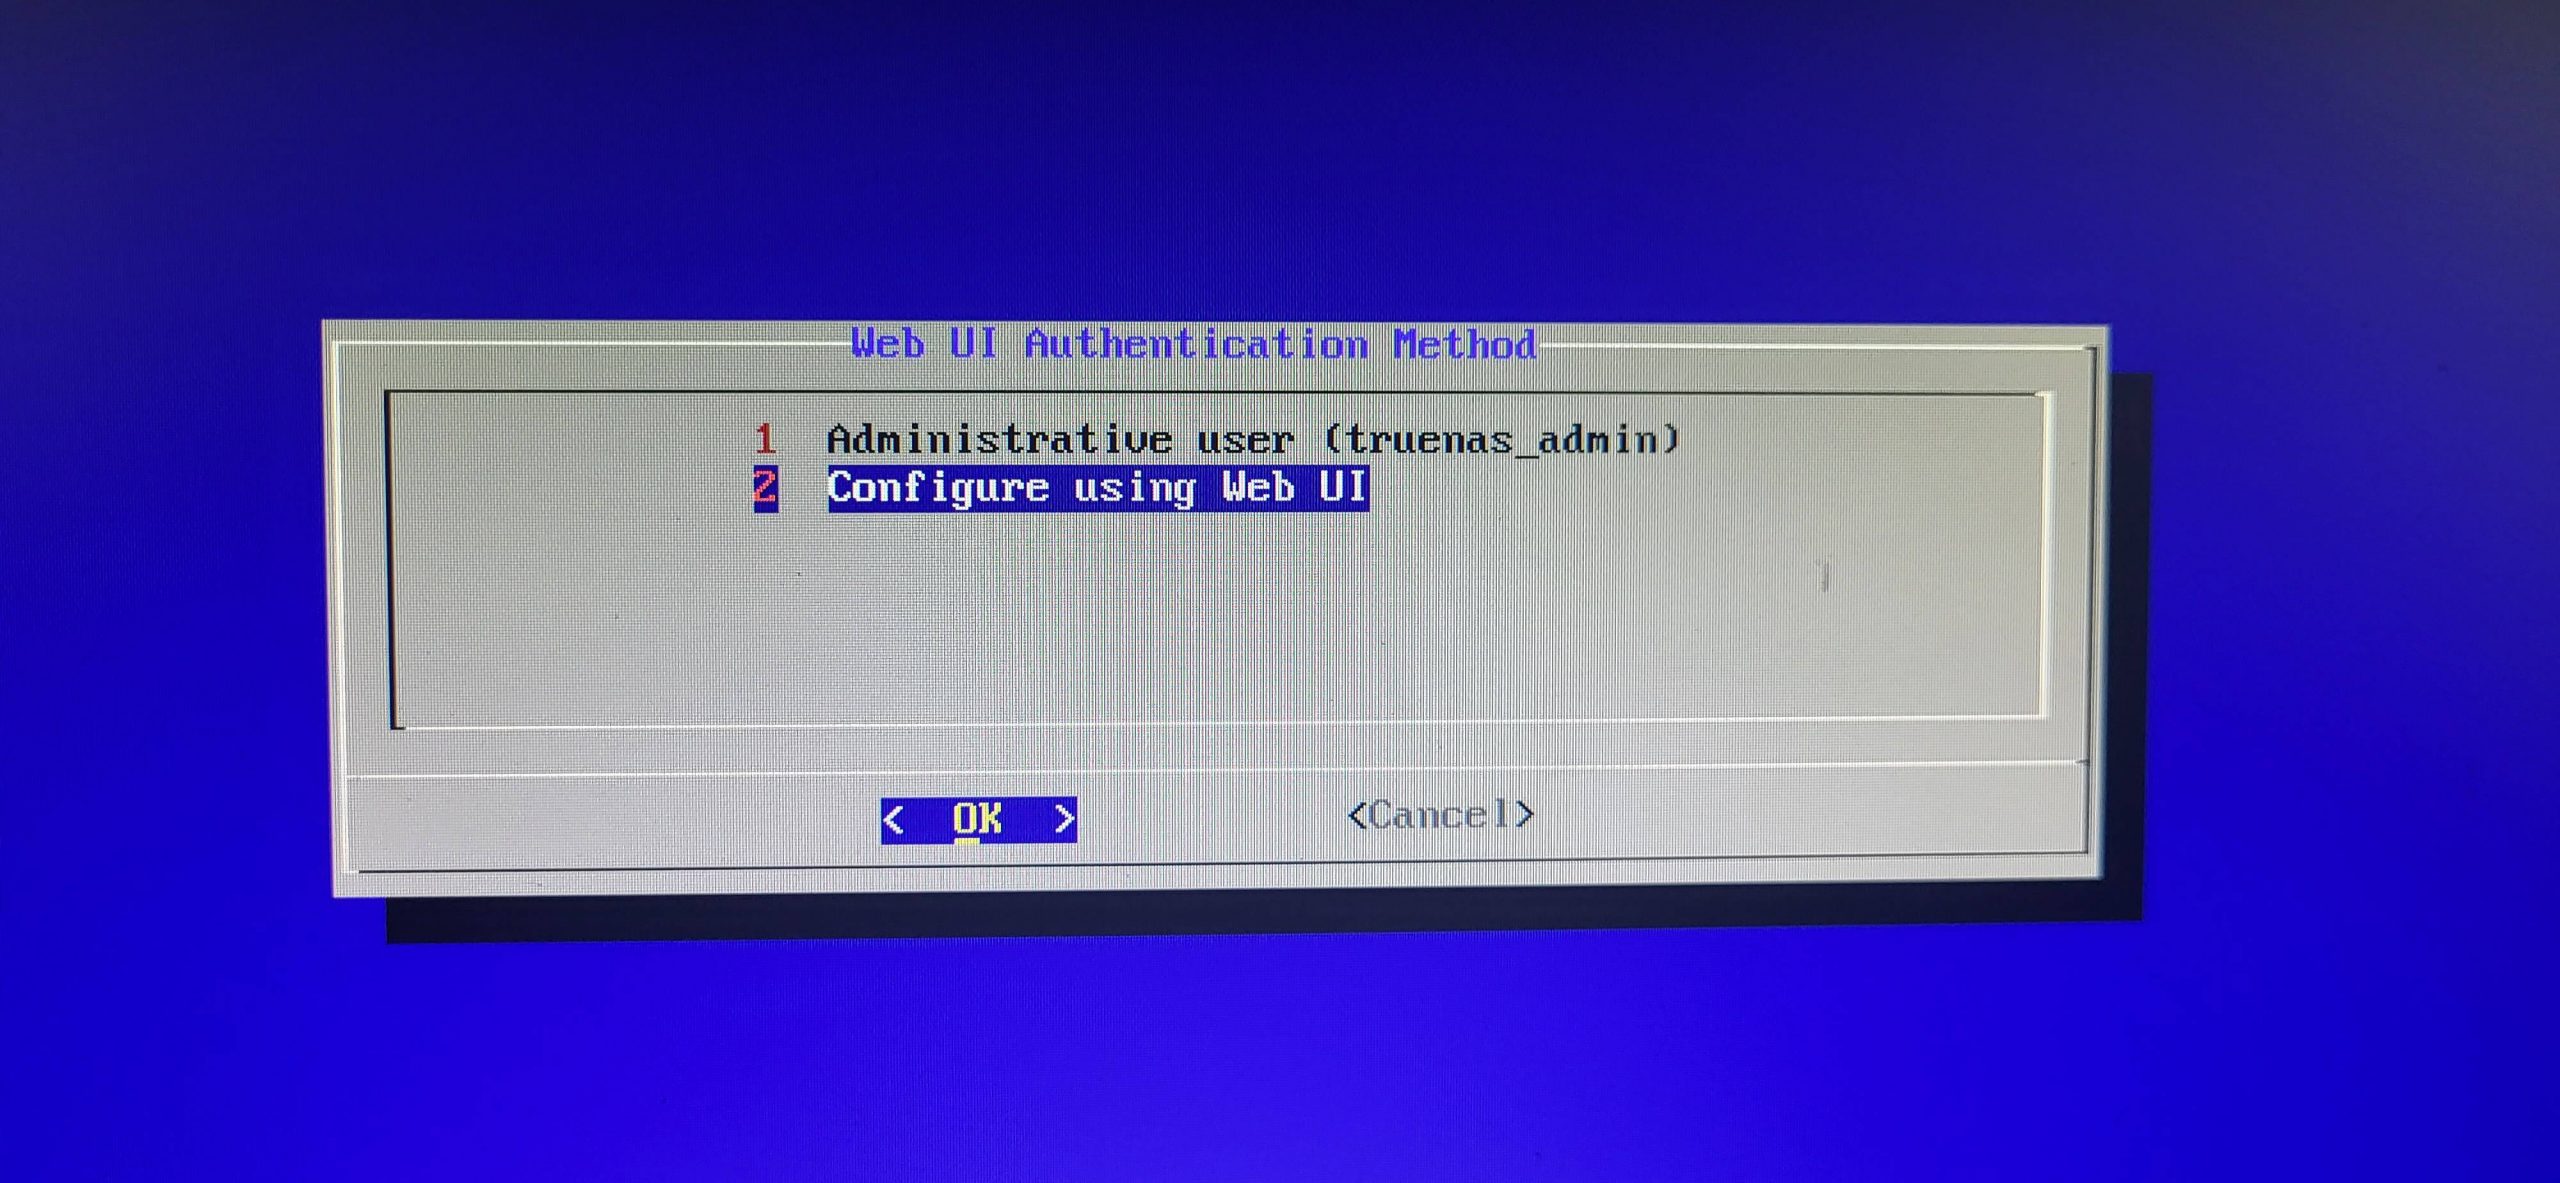
- Enter and confirm a password for the admin user.
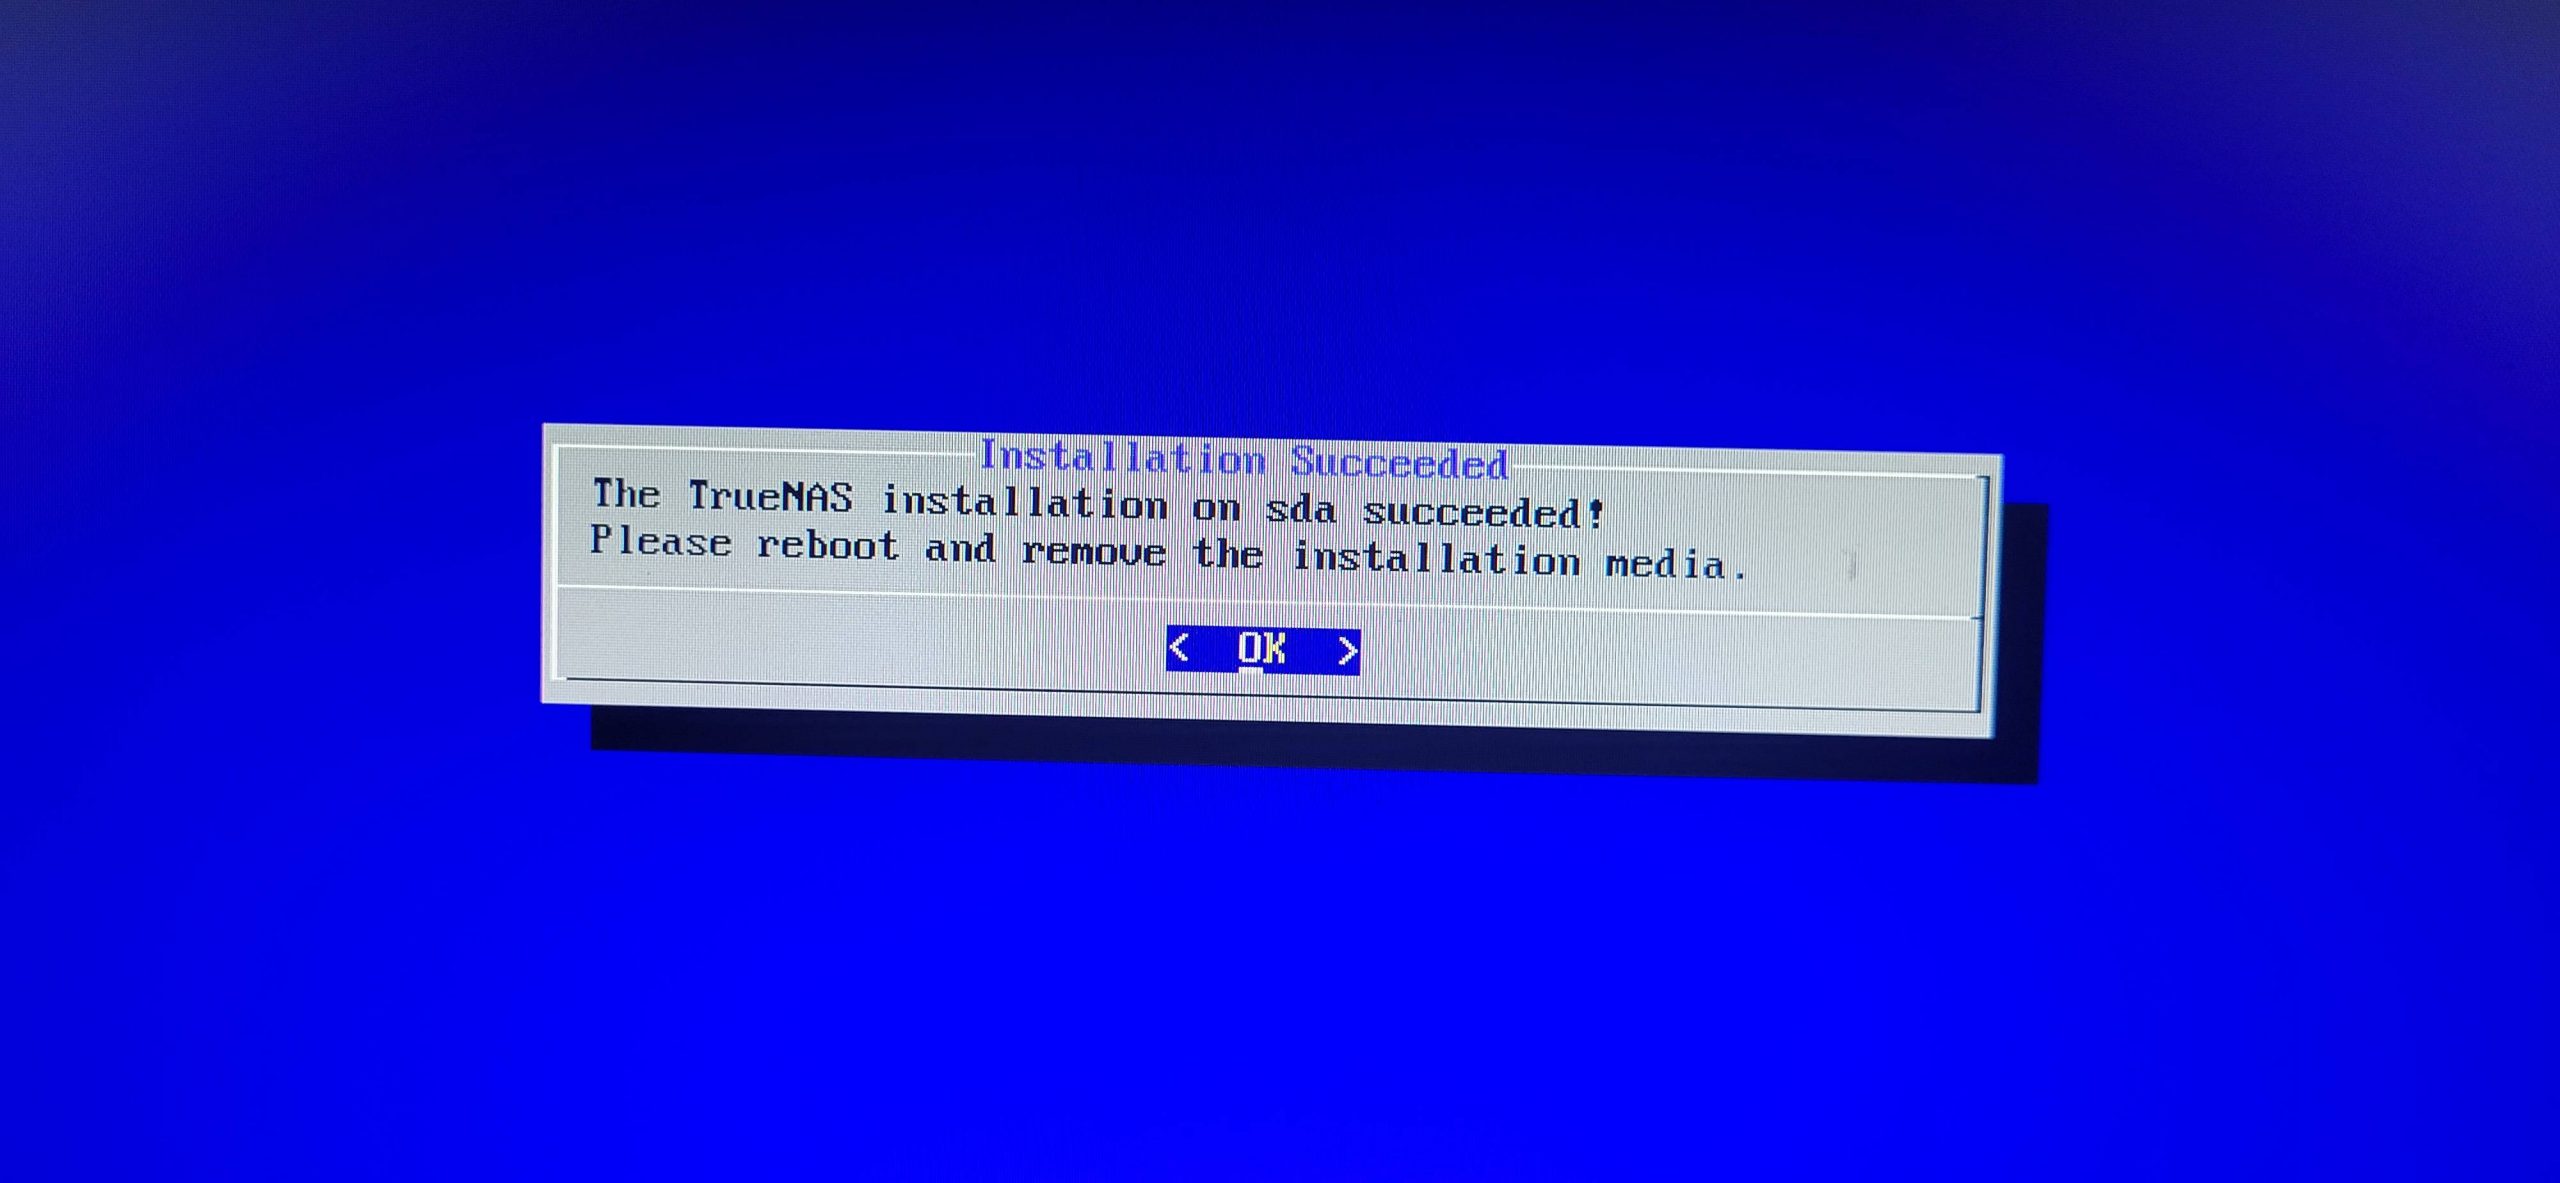
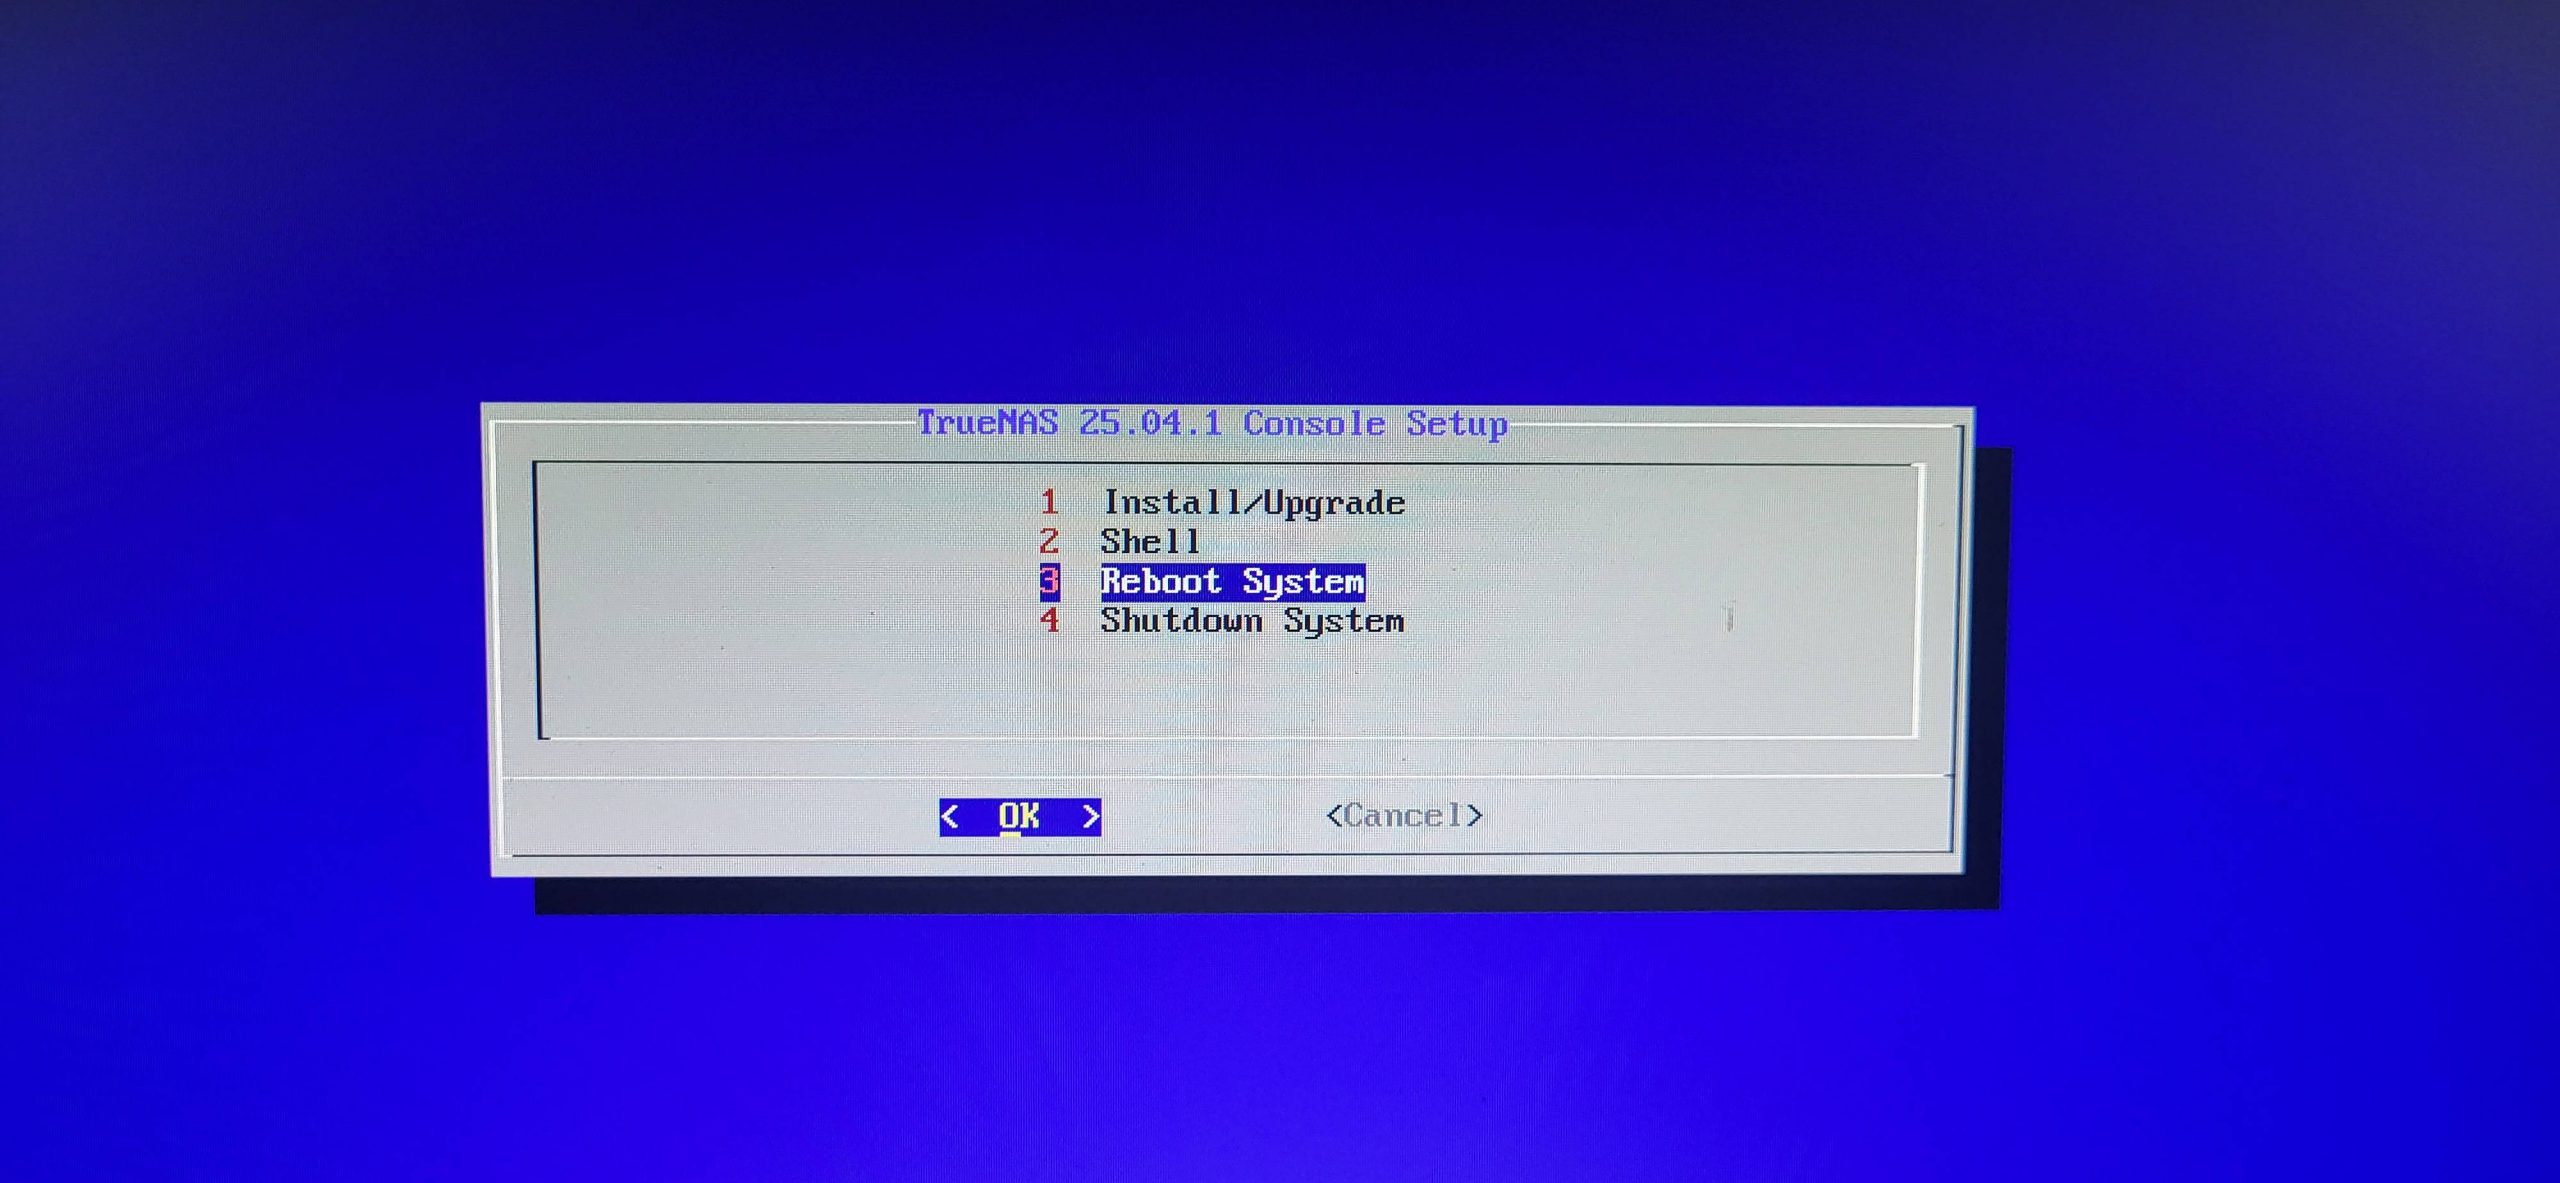
- Reboot.
After those simple steps, you should be able to log into the Web UI and begin using TrueNAS.
Although if you’re a beginner like I am, there are some caveats and simple mistakes you should watch out for.
- Make sure you take out the USB stick after it’s done installing. If you don’t, it will boot into it again.
- Make sure the boot order is correct. It should be something like:
- USB > Boot-Drive > Any_Other_Drive_For_Storage
- Make sure your ethernet cables are plugged in. (Duh)
- Make sure you have DCHP working on that subnet or VLAN. (or just assign one statically)
- Your TrueNAS can’t start the Web UI if it doesn’t have an IP address.
Setup and Pool Creation
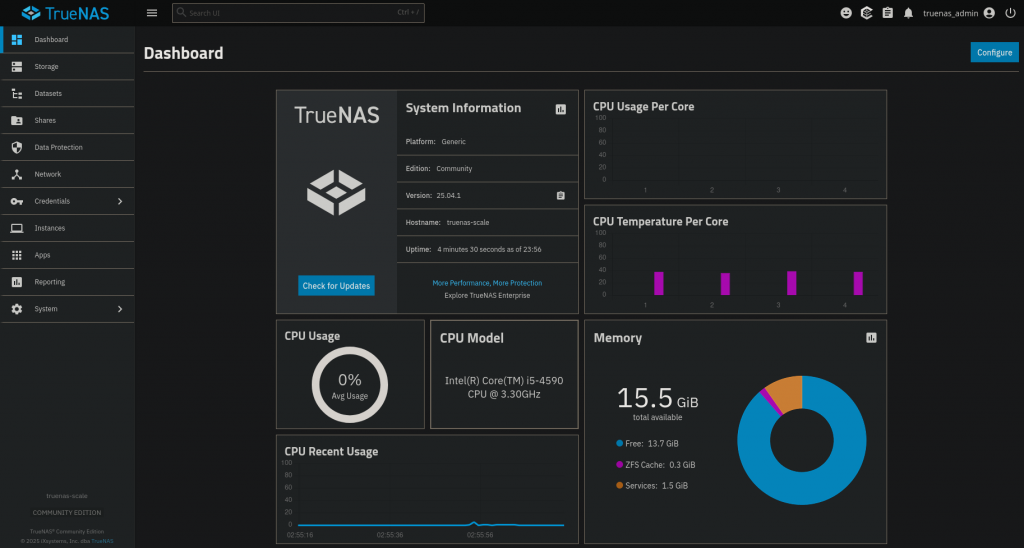
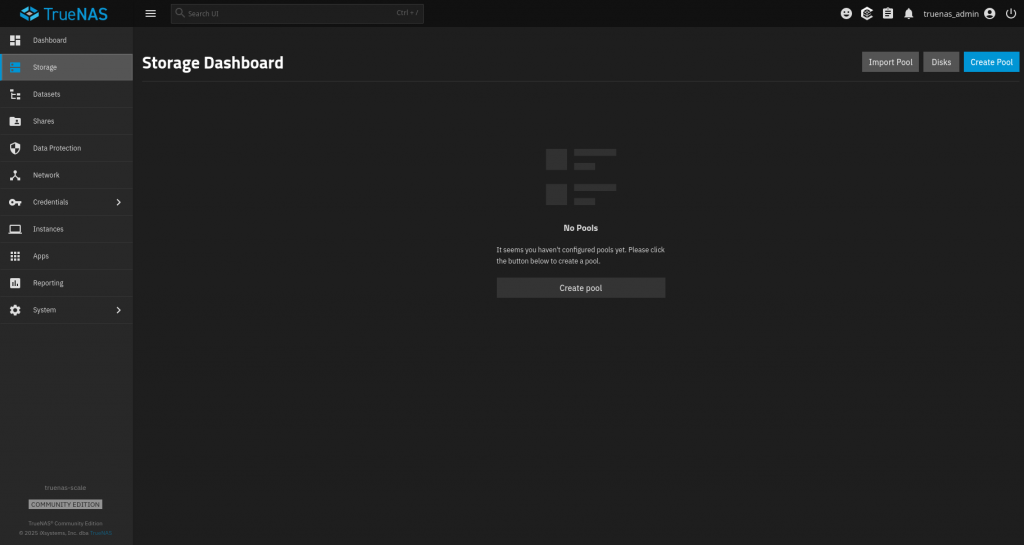
After logging in, you will be greeted with the Dashboard. At this point you should be able to make any tweaks you need to your NAS’s settings. For example, I changed the domain, hostname, and nameserver.
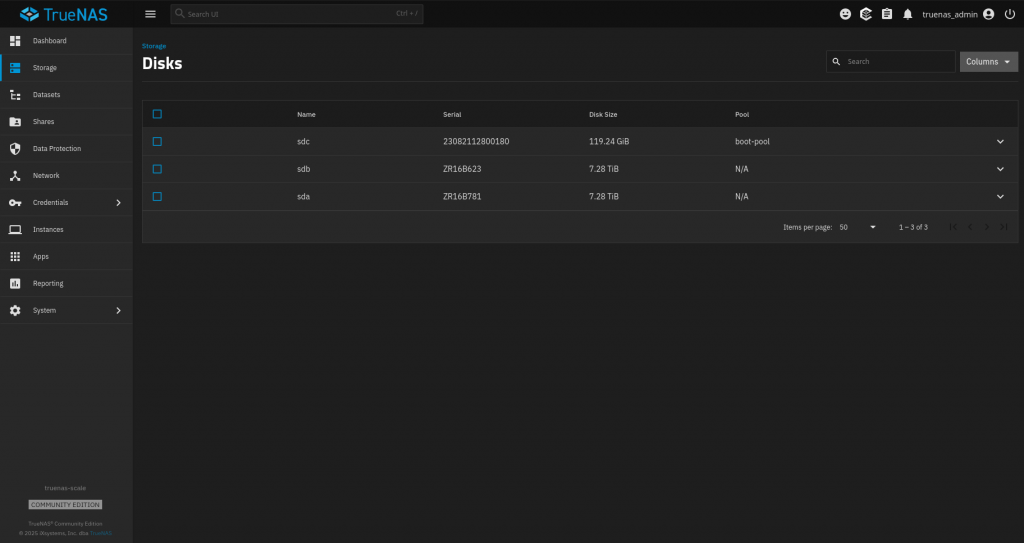
To be able to utilize our storage, we need to first create a “pool”. To do that, first make sure TrueNAS is aware of your disks by going to the ‘Storage Dashboard‘, then clicking ‘Disks‘. Your boot drive will be designated as “boot-pool”.
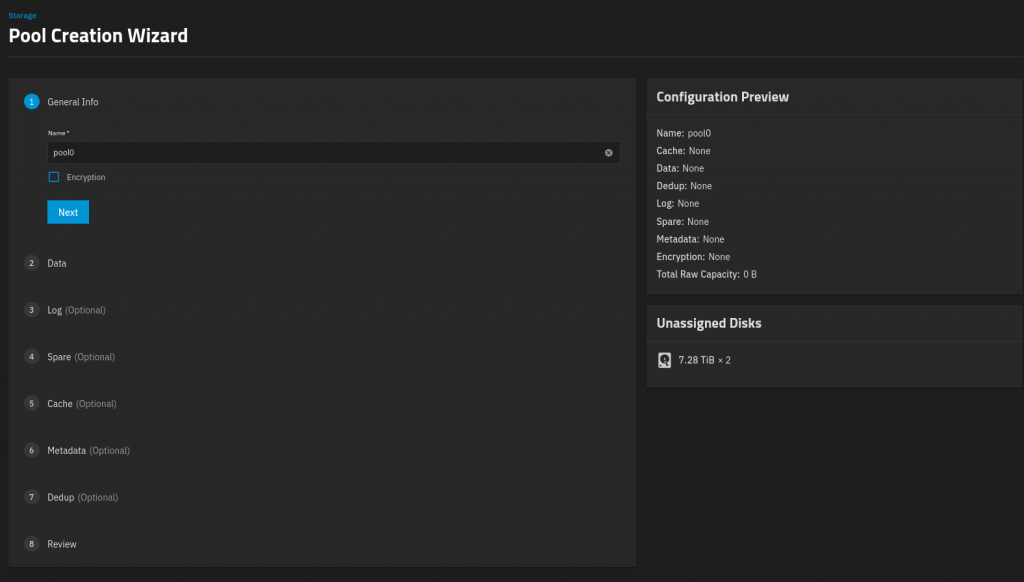
After confirming the disks are available, you can start creating your pool by going back to the Storage Dashboard and clicking ‘Create Pool‘. This will start the Pool Creation Wizard.
First Step: Name your pool and choose if you want to enable encryption.
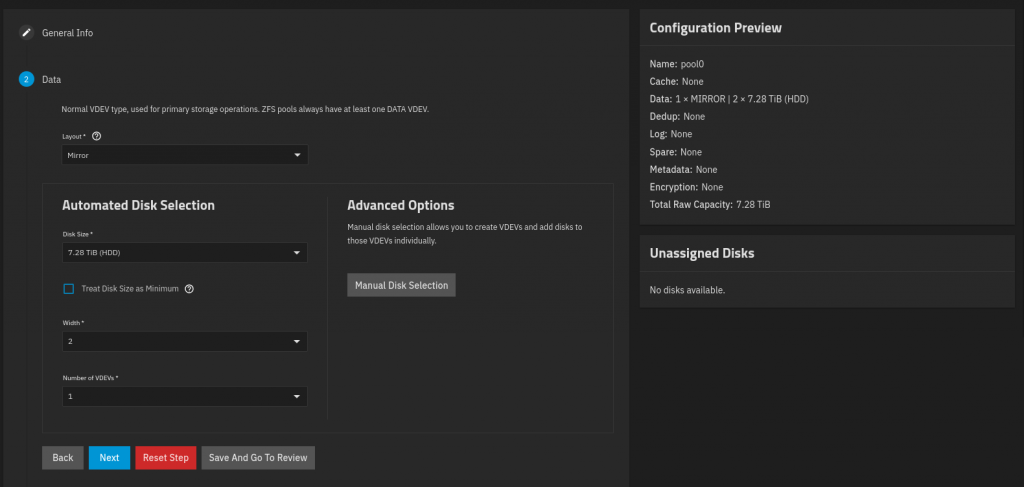
Step 2 is to choose your disk layout. You have many different options.
The worst option is to stripe all your data across all your disks. You do not want to do this as you will not have any disk redundancy. This means that if one of your disks fails, you will have no way to recover your data. The only plus side is that you will be able to use every last bit of your storage space.
The better options are one of the RAID schemes. These allow you to have a varied balance between being able to use most of your storage space and still having redundancy. The downside is that you need to have at least three disks for RAIDZ1, at least four for RAIDZ2, and at least five disks for RAIDZ3.
Unfortunately for me, I only had two 8TB hard drives in my NAS, leaving me with only the ‘Mirror’ option. This option uses one disk for storage and mirrors the data to the other drive for redundancy. Only being able to use 50% of my storage space isn’t ideal, but my machine doesn’t fit any more drives and it’s better than risking data loss.
There are several more optional steps that require extra drives. I did not utilize these because they require more drives. Here is a brief explanation of each:
- Log: ZFS log device to improve write speeds.
- Spare: Drive reserved for automatically replacing a failed drive.
- Cache: A read-cache to improve read performance.
- Metadata: Speeds up metadata Input/Output.
- Dedup: Deduplication tables are basically a lookup mechanism that improve performance for certain things.
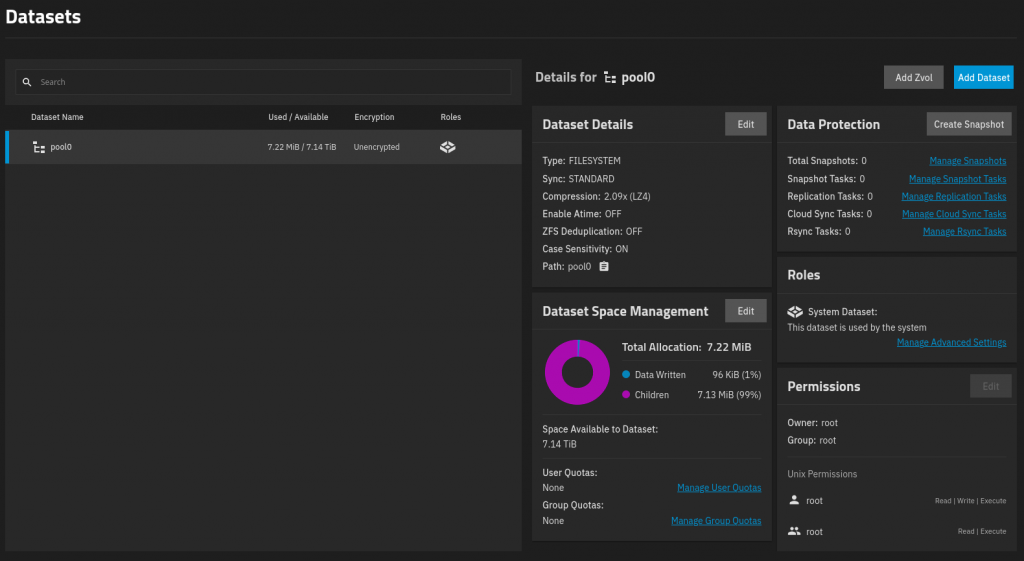
Review your configuration and if you’re happy, click ‘Create Pool‘. Your Storage Dashboard should look similar to this when it’s done:
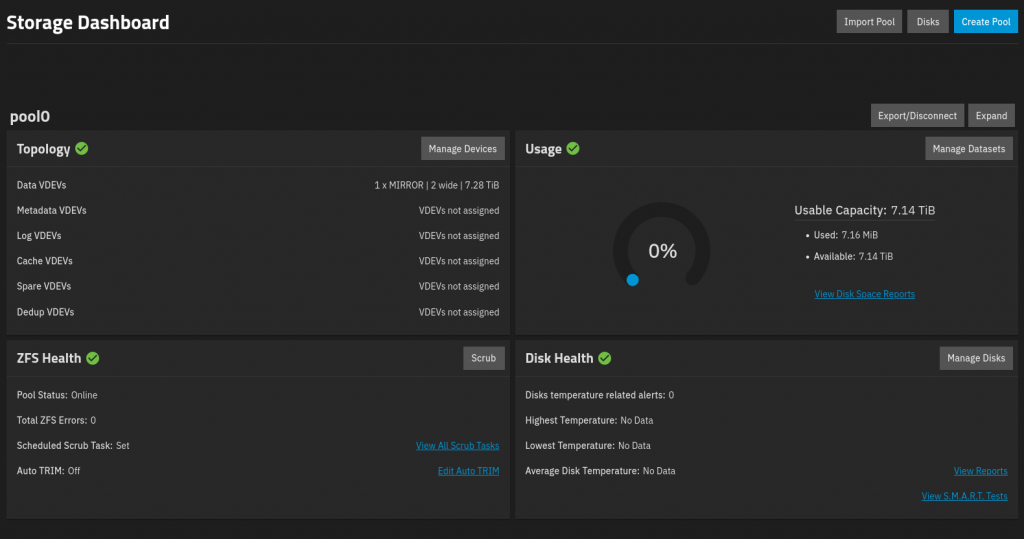
The next step is to create datasets to organize and store your files.
Creating Datasets
A dataset is sort of like a file system. You create different datasets for different things, such as one dataset for media files and another for docker containers. Datasets can also have parent-child relationships, so you can have datasets within datasets.
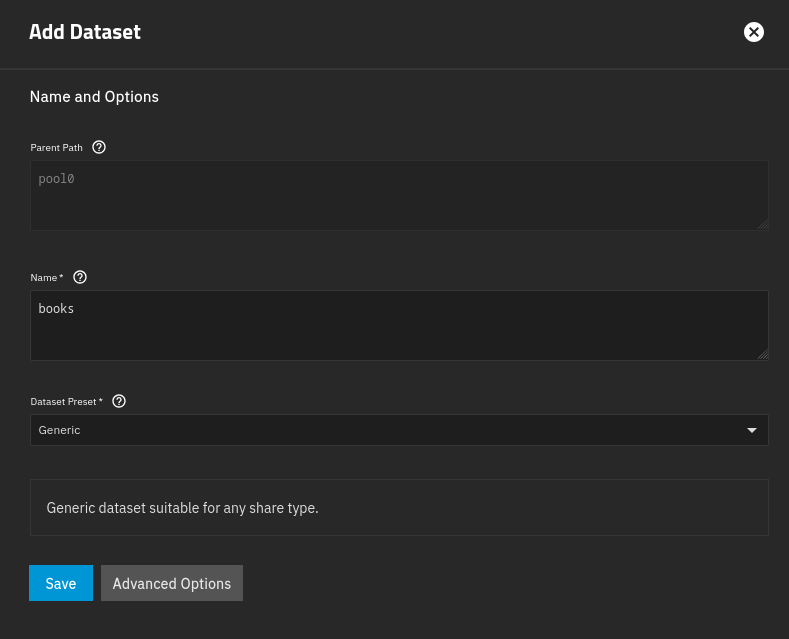
To create a dataset, go to your Dataset Dashboard, select your pool, and click ‘Add Dataset‘.
From there, name your dataset whatever you like, and then select a preset. If you plan to set up an SMB share with this dataset, select SMB. If it’s going to be for containers, select App. If you’re like me and you’re setting up an NFS share, select Generic. You can leave the advanced options as default for now and click save.
Make sure you re-select the pool for every dataset you create if you want it to be the parent. You might accidentally set the parent of any new dataset you create as the previously created dataset.
Dataset Permissions
After creating a dataset, it’s important to configure its permissions appropriately. Permissions control how users, and groups of users, are allowed to interact with resources. TrueNAS provides two main ways to fine-tuning the permissions applied to datasets: Unix Permissions and Access Control Lists (ACLs).
Unix Permissions
Unix permissions are the most basic way to do access control on a dataset. These permissions function on two main axes: ownership and access. Files and directories are set to be owned by both a user and a group. If a user does not fit into either that user or group ownership, it will be classified as ‘other’. For each of those three types of ownership, there are also three types access controls: read, write, and execute (rwx). Combining both ownership and access controls gives us a matrix of 3×3, as you can see on your dataset’s permissions editor.
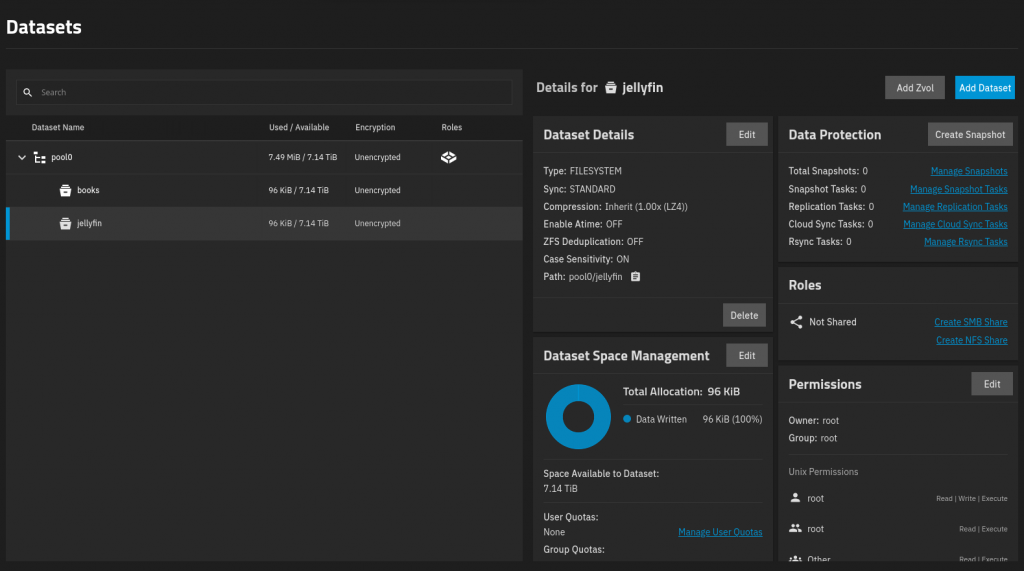
To edit a dataset’s permissions, select the dataset to edit, find the “Permissions” box, and click ‘Edit’. This will open the Unix Permissions Editor.
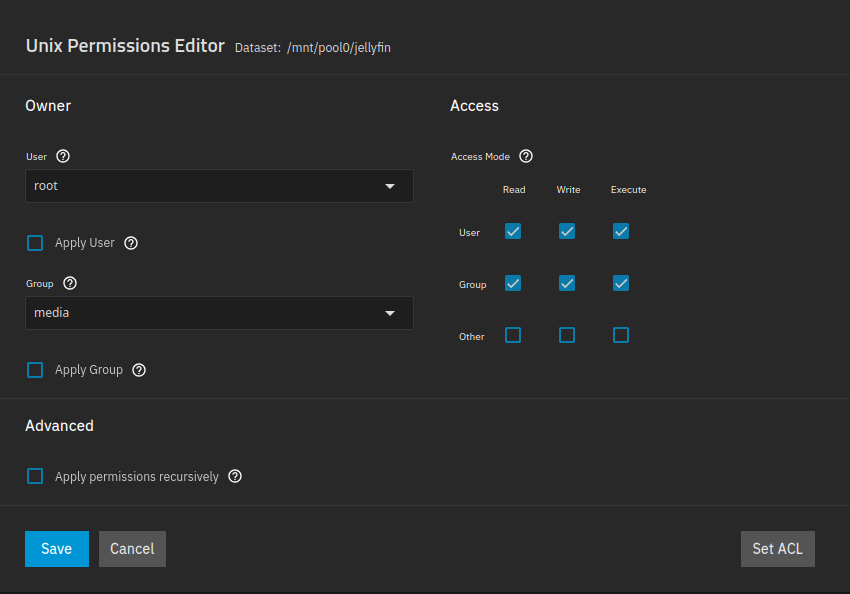
I found that balancing the accessibility needs of my dataset, while also keeping it secure, was kind of tricky at first. I needed the service accounts on a different machine (media server) to be able to access the file share, but I did not want to grant users in the ‘Other’ group access to it for security purposes. A simple solution that worked for me was to create a new group called ‘media’ and grant it ownership to the dataset. The downside to this is that I also had to recreate the same group on any machine that needs access, then add the necessary users and service accounts to that group.
Unix permissions are traditional and the simpler way of controlling access. They are more suited for smaller Unix/Linux environments that do not need complex user or group access rights. Unix permissions are also mostly used with NFS shares instead of SMB.
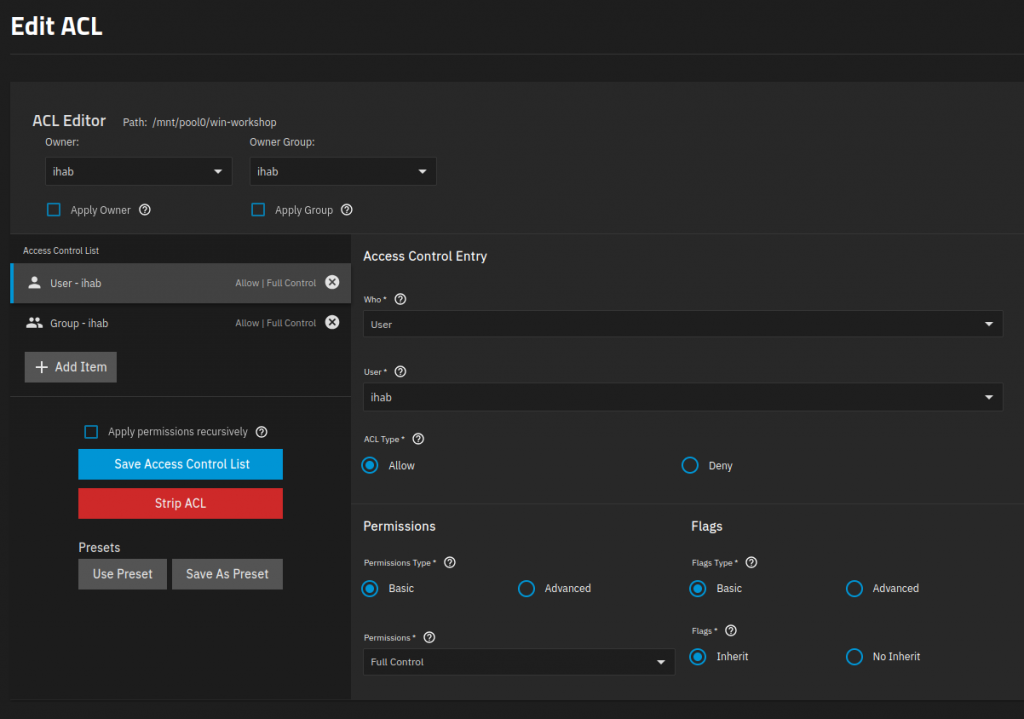
Access Control Lists
ACLs are typically set up when sharing over SMB, and sharing to more complex environments that use both Windows and Linux operating systems. They use a more complex, Windows style permission scheme with attributes like Read, Read/Write, Full Access, or Deny being applied to users and groups. The screenshot below shows how I set up a different dataset’s permissions that is being shared over SMB:
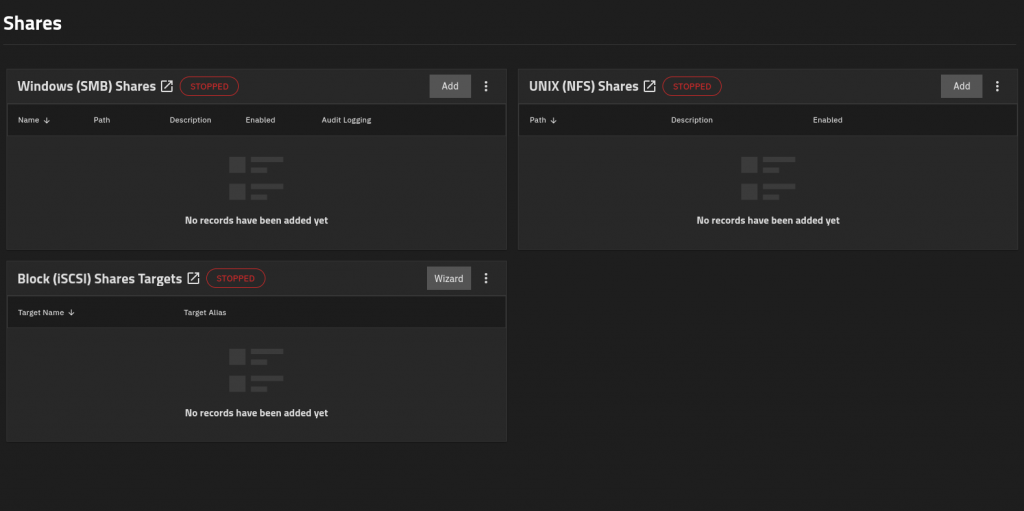
Adding Shares
In order to share our datasets to a network, we need to add a file sharing service. TrueNAS gives us three options: NFS, SMB, and iSCSI.
NFS
This is the Network File System. It is a Unix-based file share, great for Linux and UNIX environments.
SMB
Server Message Block. A Windows-based file share commonly used in Windows and Active Directory environments, although Linux machines do have the ability to mount an SMB drive.
iSCSI
Internet Small Computer Systems Interface. This is another network protocol that shares storage devices over IP. It works by encapsulating SCSI commands within network packets.
Sharing with NFS
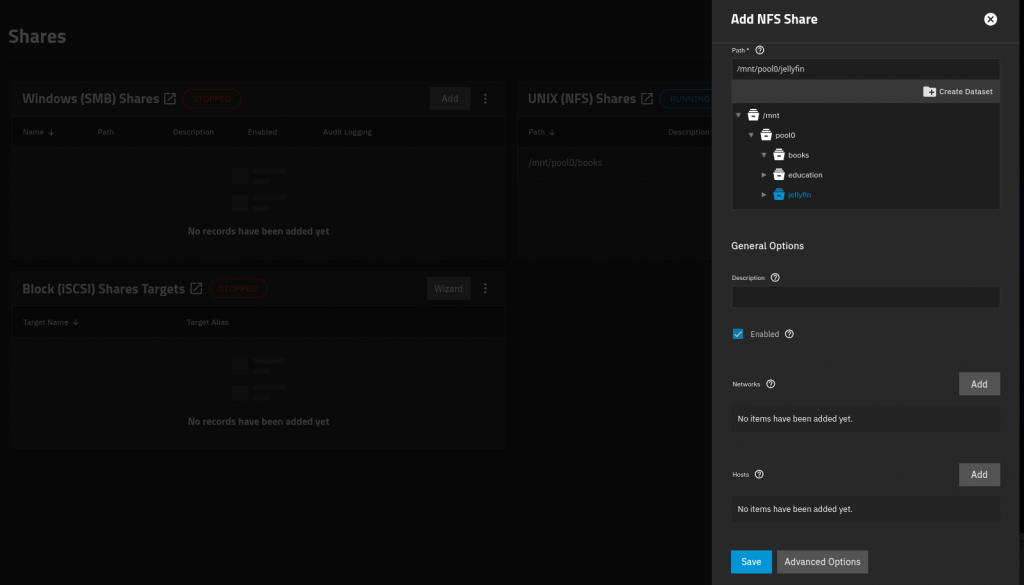
I chose to use NFS to share my datasets. To add an NFS share, first go to the Shares menu, and click the ‘Add‘ button within the NFS box. Next, select the path to the dataset you want to share and make sure the ‘Enabled‘ option is checked. All other options can be left as the default. Click ‘Save‘ to launch it.
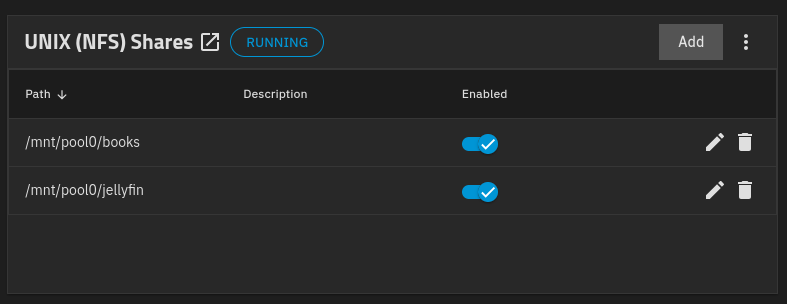
Now your NFS service should be running and sharing your dataset.
File Share Permissions
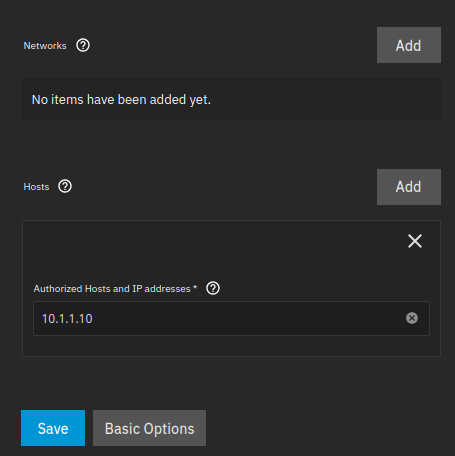
File shares have their own network-based access controls, besides the permissions on datasets mentioned before. File share access controls allow you to specify which networks, hosts, or IP addresses are authorized to access the file share. Restricting access based on network or IP addresses allow for a more granular way to apply permissions securely, without being to restrictive with traditional Unix permissions or ACLs.
Mounting NFS
Finally, we get to mount the NFS drives we created, which can be done with a simple command:
sudo mount -t nfs [ip_of_truenas]:/mount/point/to/share [local mount directory]Example:
sudo mount -t nfs 10.1.3.5:/mnt/pool0/books /tmp/share/books/fstab
Maybe you want your system to mount a share at boot. On Linux, you just have to edit a single file:
/etc/fstab
Here’s my media server’s fstab file as an example:
10.1.1.19:/mnt/pool0/jellyfin /share/jellyfin nfs rw,vers=4.0 0 0

10.1.1.19:/mnt/pool0/books /share/books nfs rw,vers=4.0 0 0
The parameters you add will depend on your situation (like the NFS version running on TrueNAS).